When you’re first plonked into the world of Fallgrim, it can be fairly daunting. The game wastes no time in trying to kill you, and even if you’re familiar with the broader genre of hardcore hack and slash games, there’s every chance the game’s unforgiving difficulty will humble you. Those crucial first few hours can be tough, as you are confused as to what’s going on and might feel you’re getting nowhere. With this in mind I’ve compiled some simple tips to hopefully make your transition into Fallgrim life (and death) a little easier.
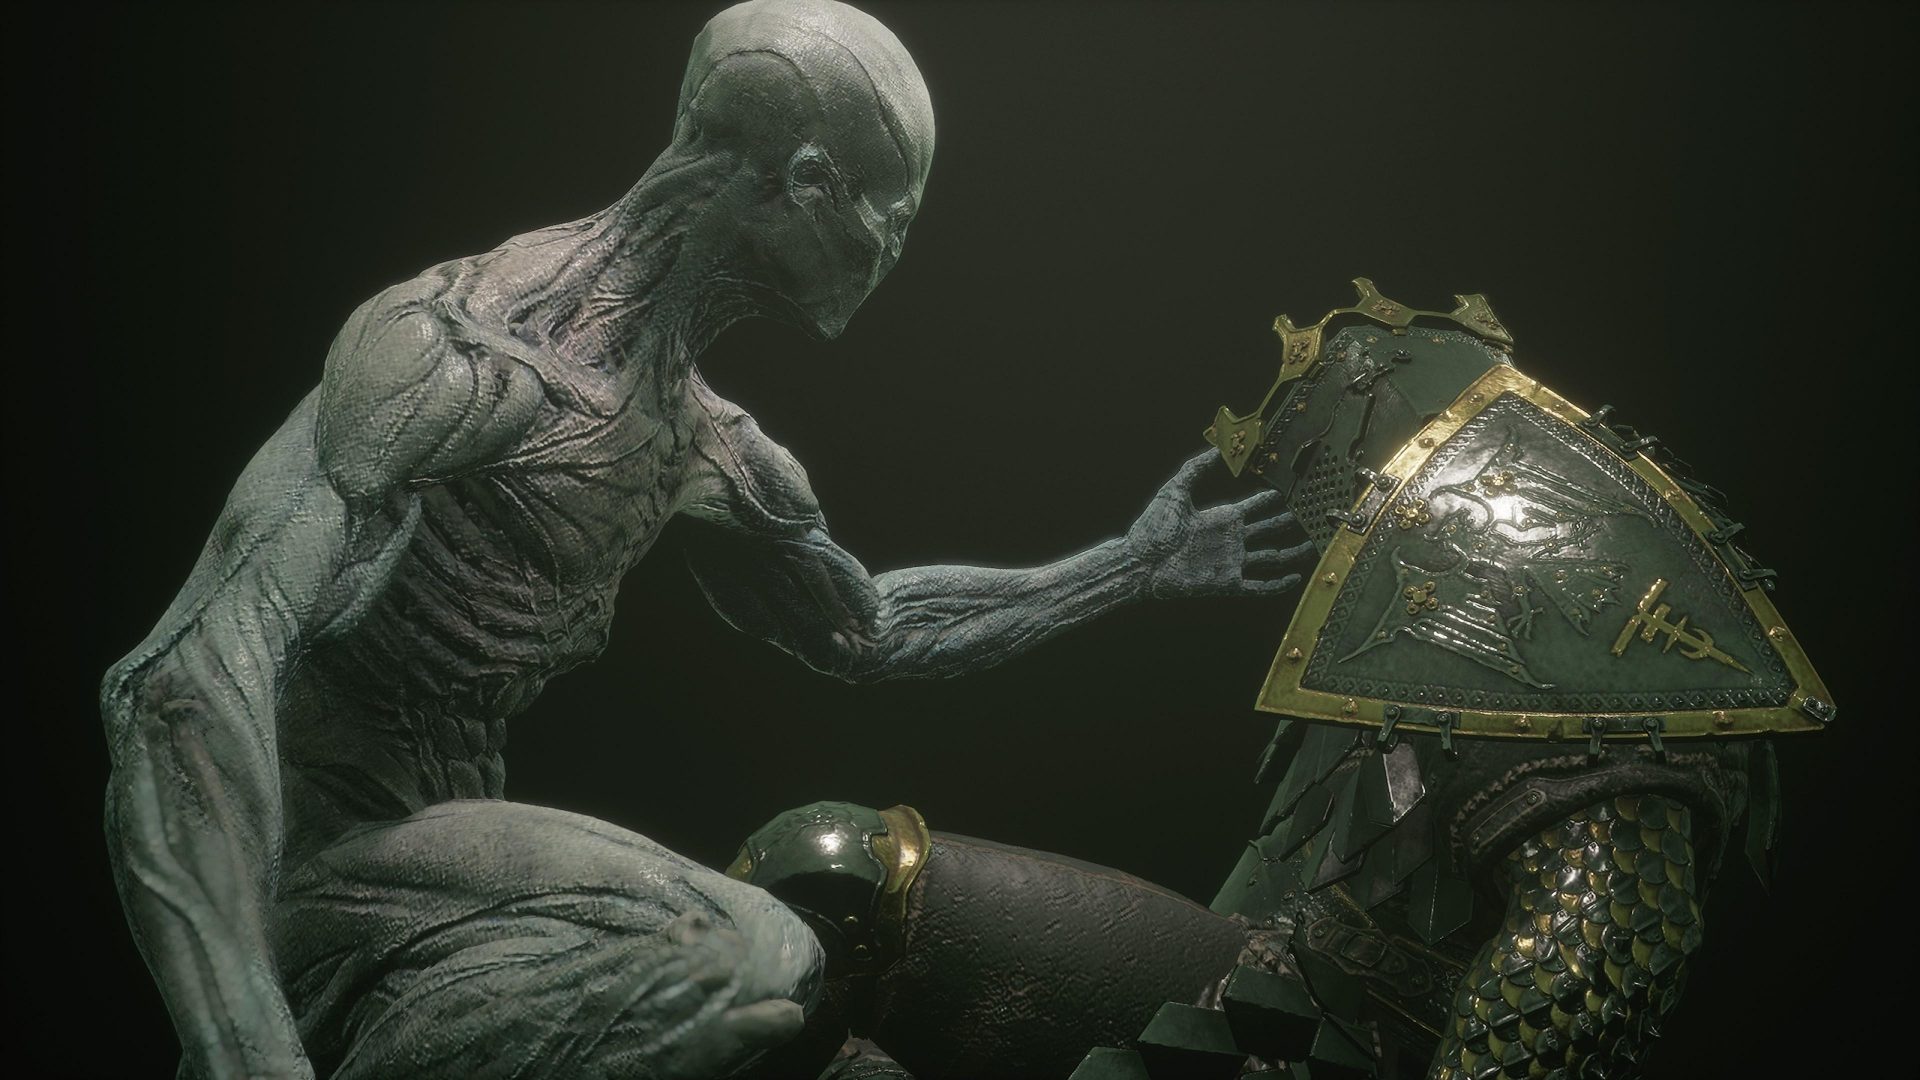
Harros is the best shell for beginners, followed by Solomon
Harros is the first shell you’ll find after the brief opening tutorial, and he is by far the most versatile. An all-rounder Shell, he’s got a decent pool of both health and stamina and four slots of Resolve. He also has a variety of skills which will make your life directly easier. A key ability to unlock early doors is Accretion of Endurance, which allows you to rapidly regenerate stamina while hardened. This ensures that if you find yourself caught in the middle of an encounter you can harden, simultaneously regain stamina, then dodge roll out of danger once your hardened state is broken. Stamina management is key, and this ability makes it infinitely easier to do. Accretion of Resolve decreases your harden cooldown which has obvious benefits. Another useful skill Harros has is Accretion of Dominance, which grants increased chances of enemies dropping additional Glimpses after hardening. Glimpses are the rarer resource and you’ll want to be getting your hands on as many as possible. Enemies only occasionally drop Glimpses (but always drop Tar), so any skill that increases the chances of them dropping is advantageous.

Harros’ abilities are basic but very effective
Solomon is also a great choice, as a stereotypical tank type of Shell. He can be found just outside the temple surrounded by giant blocks of obsidian. If you follow the river downwards from the central hub you can’t miss him. He’s got a massive pool of health but a lot less stamina, so you’ve got to be a little cautious and make sure you always got enough stamina for a hasty dodge roll out of danger. Note that the temple outside which you’ll find Solomon is one of the toughest areas of the game, so unless you’re confident it might be an idea to simply retrieve the Shell and then backtrack to an easier temple (the Monument of Ash is the easiest).
Focus on a single Shell
Once you’ve settled on a Shell you like, focus all your attention on them. If you unlock all their abilities (which takes a fair amount of Glimpses) you’ll be able to purchase an Ornate Mask from a Sester. The Ornate Mask is the only means of fast travel in Fallgrim, and can be used absolutely anywhere making it a huge boon.
Focus on a single weapon, Quenching Acid is extremely precious
Each temple you find will introduce you to a new weapon, and within that temple you’ll find rare items specific to that weapon that will unlock their unique and powerful abilities. There is one shared resource that is most important of all though: Quenching Acid. This rare item upgrades the base damage of any weapon, and is absolutely essential if you want to get the upper hand. Given its rarity, it is prudent to use any you find on a single weapon, rather than spreading it out thinly across the four. The Hallowed Sword (the first weapon you receive) is a great all-rounder and you can’t go wrong with upgrading it fully first (all weapons have a total of five slots for Quenching Acid). Don’t forget that the merchant at the top of the tower in the central hub area actually sells Quenching Acid (he has two in stock), so if you’re really stuck and want to do some extra damage then farm tar from the surrounding area and buy some from him. It makes a world of difference, trust me.

Find the merchant by climbing to the top of the tower in the central hub

Quenching Acid should be your most coveted resource
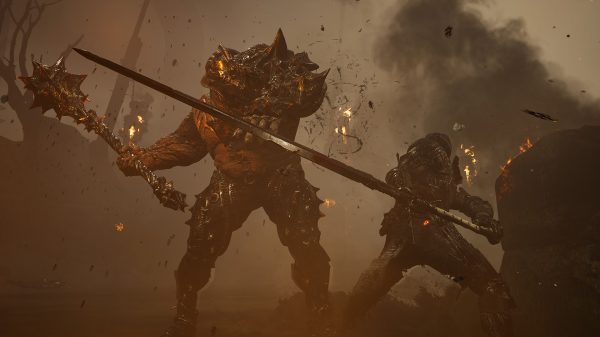
Heavy lunge attacks stagger enemies, and are a great combat opener
If you sprint and then hit heavy attack, you’ll do a lunge attack which will generally stagger your adversary and leave them open for another hit. The Hallowed Sword and Hammer and Chisel have the best lunge attacks as they are quick and have a huge range. Once you’ve levelled up the base damage of one of your weapons, many enemies will die from a heavy lunge /light attack follow-up, and they won’t even have a chance to retaliate. This combo also works a treat on bosses, but keep in mind they might not stagger so keep your finger on the harden button and make sure you lunge in with full stamina so you have enough for a dodge roll retreat.
Parrying is fun, but by no means completely necessary
The parrying mechanic in Mortal Shell is one of its weakest aspects. The timing of the parry is tough to master, as it has a small windup, and if you mess it up then you’ll get smacked in the face. If you do a successful parry then you can do a powerful riposte with extra bonuses like setting enemies on fire or regaining health. The latter will probably be tempting, as health regen is always good, but if you can’t get the hang of it then don’t worry, you can easily beat the game without it. The risk is often far greater than the reward, and it’s not a mechanic I’d lean on too much unless you’re fully comfortable with the timing.
Fight one enemy at a time, use their glacial speed against them
If you see a group of enemies, unless you are confident it is a bad idea to engage them all at once. Approach one of them slowly, and have them spot you so they’ll start walking toward you while their mates just hang around and stand still (this is called kiting). All enemies move at an incredibly slow pace, so you can easily back well away from the pack while the single enemy follows you. Once you’ve reached a place you’re confident to fight in, do your lunge attack to open the combat and go from there. Kiting enemies one by one can be labourious and requires patience, but it’s your best chance of a fair fight.
When you die, you lose all your Tar, but you keep your Glimpses
Tar comes and goes, but Glimpses are forever. You can retrieve your Tar by going back to where you died, but if you’re continually dying it doesn’t really matter. Losing Tar is not the end of the world, as it’s easy enough to farm more. It goes without saying that you shouldn’t use an item that grants Tar unless you are standing in front of a Sester looking to unlock a specific ability and have the requisite amount of Glimpses.
Use your Shell retrieval as a way of regenerating health in tough battles
When your health is reduced to zero while wearing a Shell, you are forcibly removed from it and revert to your much weaker form. You can then retrieve it and return to full health. If you die again after that it’s lights out and back to the last Sester you awakened. However, the Shell you left behind is still there, and even if you are inhabiting a Shell and have one in hand (there’s a little icon in the bottom left next to your health that has a light it that indicates whether you’ve got a second chance to reinhabit your Shell on death), you can still retrieve your old one and get full health, and you’ll retain your ability to reclaim your Shell in hand on death. This essentially gives you two second chances, and is especially useful in boss fights. For example, Grisha is a hulking beast in a cave surrounded by traps right near the central hub, here’s a battle flow that will give you two second chances:
- Fight Grisha and die (or beat him, that’s good too).
- Return to Grisha and fight him until your health is low. Make sure you know where your old Shell is while fighting and retrieve it before you die in order to get full health back.
- If Grisha manages to reduce your health to zero you’ll be removed from your Shell, but you’ll have a chance to retrieve it, effectively activating your third chance at success.

The indicator in the bottom left (circled in red) will tell you if you have a Shell in hand
If you find yourself dying a lot at the start of the game, concentrate on clearing a single path and memorising the enemies and safe ways of dispatching them. Use Shell retrieval as a means of health regeneration, and before you know it you’ll be at a temple, and there is always a Sester at the entrance that acts as a checkpoint. Talking about checkpoints…
Checkpoints are rare, but in predictable spots
One thing you’ll probably be wondering when you first step into Fallgrim is, “Where the hell are the bonfires?” The central hub has a single Sester, and when you first start out it feels like you can go an eternity without finding a checkpoint that regenerates your health and spare Shell. This is why the above strategy is advisable, as any path you take will always end in a temple, and temples all have three Sesters. There is one Sester at the entrance, as well as a book you can read to get a weapon, and an Anvil for upgrading weapons. There is another Sester halfway through each temple, and then there is always one directly before the boss. With this knowledge, you’ll know your approximate progress in a temple and be able to plan accordingly.
Glimpse and Tar farming
I can’t say I was compelled to farm glimpses or tar, and by the end of the game I had enough to fully upgrade two Shells with change. But if you’re intent on maxing out a few Shells, then the best area to do so is Eternal Narthex. This is the obsidian temple I told you to avoid at the start of the game. Just past the Sester at the start of the temple is a big bloke with a massive hammer, and they seem to be the most likely to drop Glimpses (they can actually drop two at a time which is handy), plus they’ll give you a fair whack of Tar for your troubles. These enemies hit hard and have a fair amount of health, but have predictable attacks that are easily avoided. Given that he’s right next to a Sester means there’s essentially zero risk as well, and you can respawn him by reawakening the Sester. There’s the added bonus that there’s a Welcap Mushroom in the area, which can be recollected every five minutes while you go about your farming.
I hope this guide helps you on your journey to ascend in Mortal Shell, if you’ve got any more questions then fire away in the comments.